


Adding a watermark to your YouTube videos is one of the quickest wins you can get. It's surprisingly simple: you just need a small 150x150 pixel PNG image, ideally with a transparent background, which you then upload in YouTube Studio under Customization > Branding.
Once it’s set, this tiny graphic becomes a permanent, clickable subscribe button on all your videos. It's a low-effort way to turn casual viewers into loyal subscribers.
Why a YouTube Watermark Is a Game Changer

Before you jump into a design tool, it’s worth understanding just how powerful this little icon really is. A YouTube watermark is much more than a logo tucked in the corner; it’s a smart tool for growing your channel, building your brand, and protecting your work.
Think of it as your channel's digital signature. It's always there, working for you in the background. This constant presence helps with brand recall, making your content instantly recognizable when it’s embedded on other websites or shared across social media. For viewers, it's a subtle, non-intrusive reminder of the person or brand behind the content they're enjoying.
The Strategic Value of a Watermark
At its core, the watermark is designed to turn viewers into subscribers. When someone on a desktop computer hovers their mouse over your watermark, a subscribe button pops right up. This simple interaction removes a step, making it incredibly easy for someone to subscribe without having to stop the video or navigate away from the page.
With YouTube's user base projected to hit 2.85 billion by 2025, tapping into even a fraction of that audience can make a huge difference. While it's true that only a small percentage of viewers will click the watermark, for channels with steady traffic, those clicks add up to thousands of new subscribers over time. You can dig into the latest stats on YouTube's audience size at globalmediainsight.com.
On top of that, a watermark adds a layer of content protection. It acts as a deterrent, making it harder for others to steal and re-upload your videos without giving you credit.
A great watermark does three things perfectly: it builds brand identity, boosts subscriber counts, and protects your original content. It's one of the easiest "set it and forget it" growth hacks available to every creator.
To make this all work, you first need to get the technical details right.
YouTube Watermark Technical Checklist
Get your watermark right the first time. This table breaks down the key technical requirements from YouTube so you can design with confidence.
| Specification | Requirement | Why It Matters |
|---|---|---|
| Dimensions | 150 x 150 pixels (minimum) | This ensures your image is a perfect square and renders clearly without looking stretched or blurry. |
| File Format | PNG, GIF (non-animated), JPG | PNG is the best choice because it supports transparent backgrounds, which looks much more professional. |
| File Size | Under 1 MB | A small file size helps it load instantly without affecting your video’s performance. |
| Transparency | Supported (PNG format) | A transparent background allows your watermark to blend seamlessly into your video content. |
Nailing these specs is the first step. Once you have a file that meets these requirements, you're ready to add it to your channel.
Designing a Watermark That Actually Works
A great watermark does more than just sit in the corner of your video; it has to catch the eye without being a distraction. The whole point is to create something viewers instantly recognize, even when it's tiny, and that makes them want to click. Forget about intricate graphics—when it comes to watermarks, simplicity is your best friend.
Just look at the biggest channels on YouTube. Their watermarks are almost always a clean, simplified version of their main logo or a custom icon. A super detailed image with lots of fine lines and text will just turn into a blurry mess, especially on mobile phones where the watermark only shows up in landscape mode.
Getting your watermark right really comes down to understanding the basics of good design. For most creators, the watermark is their logo, so applying effective logo design principles is the best place to start. That means focusing on a design that’s clear, memorable, and looks good at any size.
Choosing the Right Design Approach
You really have three solid paths you can take with your watermark design. Each one has its own benefits, so think about what makes the most sense for your channel's brand.
- Your Logo: This is the go-to for a reason. Using your channel's logo consistently builds brand recognition with every single video. If your main logo is a bit complex, you'll want to create a simplified version—often called a "bug"—that's perfect for the small watermark space.
- Your Face: If you're building a personal brand, a clean, friendly headshot works wonders. It helps create a direct, human connection with your audience and makes your channel feel much more approachable.
- A "Subscribe" Button: You can also go with a custom graphic that looks like a YouTube subscribe button. This is a direct call to action, literally showing viewers what you want them to do, and it can be surprisingly effective at boosting subscriber numbers.
The best watermarks are the ones you can identify in a split second. Keep it simple, make sure the contrast is high, and ensure it perfectly matches your channel's vibe.
Mastering Color and Transparency
The colors you choose are absolutely critical. Your watermark has to pop against any background—whether your video has bright scenes, dark scenes, or a mix of everything. This is precisely why so many successful creators use bold, high-contrast designs.
Think about it: a bright red "subscribe" button graphic is going to stand out against almost anything. In the same way, a simple black or white version of your logo, maybe with a subtle drop shadow, will stay visible no matter what's happening on screen.
Transparency is the other half of the puzzle. You never want a fully solid, opaque watermark. That's a surefire way to block your content and just annoy people. The sweet spot is a semi-transparent PNG file, usually with an opacity of around 70-80%. This makes it noticeable enough to do its job but subtle enough that it doesn't get in the way of the video itself.
Bringing Your Watermark to Life With Free Tools
You don't need to shell out for expensive software to make a great watermark. Honestly, some of the best tools for the job are completely free and give you everything you need to create a professional-looking graphic in minutes. Let's get hands-on and build the perfect file, ready to upload.
YouTube has made this process incredibly simple with its built-in branding feature. A decade ago, you'd have to manually burn a watermark into every single video file. But as the platform grew to over 2.5 billion monthly users, they standardized the process, making it an automated channel setting. It was a huge win for creators, making professional branding accessible to everyone, not just those with fancy editing skills.
Crafting Your Watermark in Canva
Canva is my go-to recommendation for this. It's user-friendly, and you can knock this out in a few clicks. The most important thing is starting with the correct canvas size from the get-go to avoid any weird stretching or quality loss.
Here’s how to set it up right:
- From the Canva homepage, find and click the "Create a design" button.
- From the menu that appears, choose "Custom size."
- Type in 150 x 150 pixels for both width and height.
That's it. You now have a perfect square canvas that meets YouTube's exact specifications. From here, you can drop in your logo, add a simple icon, or even just text. Just remember the golden rule: keep it bold and simple. This thing is going to be tiny, so intricate details will just turn into a blurry mess.
Pro Tip: Your final watermark file has to be under 1 MB. A simple design made in Canva will almost always be well under this limit, but it’s a good habit to double-check the file size after you download it.
Now for the non-negotiable part: your watermark needs a transparent background. A logo sitting inside a clunky white box looks unprofessional and distracts from your actual video. You want it to float seamlessly over your content. If your logo file has a solid background, it's worth taking a moment to learn how to remove backgrounds like a pro using one of the many free online tools available.
This whole design process really boils down to three core ideas.
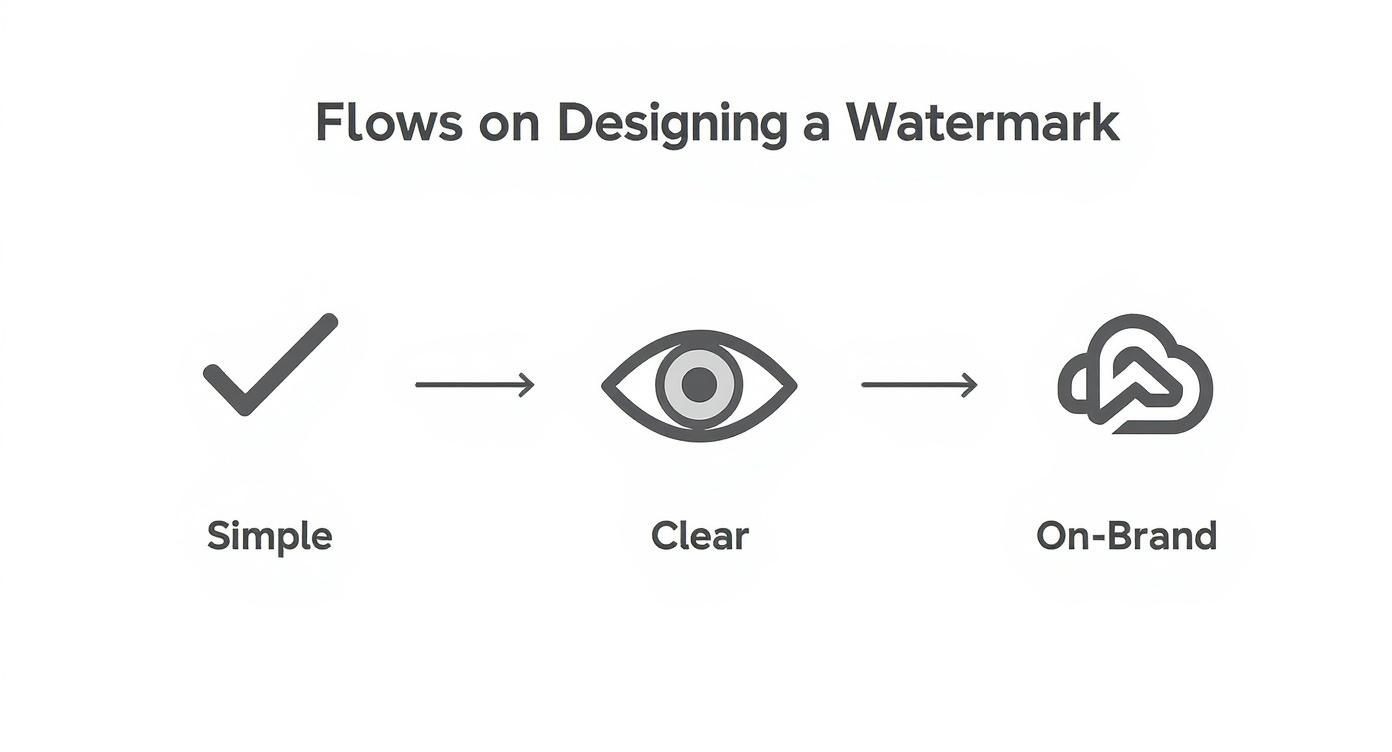
As you can see, the goal is always a watermark that's simple, clear, and a perfect match for your channel's vibe.
Exporting Your File for YouTube
Once your design looks good in Canva, you just need to export it correctly. Getting these settings right ensures YouTube accepts the file without a hitch and that it looks crisp and clean on your videos.
Here are the exact download settings to use:
- File Type: Always choose PNG. This is the key, as it's the most common format that supports a transparent background.
- Transparency: When the download options pop up, you absolutely must check the box for "Transparent background." While this is a Canva Pro feature, it's one of the best reasons to consider the upgrade for that polished, professional look.
- Size: Keep the size set to 1x. This will maintain your 150x150 pixel dimensions perfectly.
Follow those three steps, and you'll have the perfect watermark file ready to go.
This is especially crucial for creators running faceless channels. When you aren't on camera, your branding elements—like a watermark—have to work overtime to build recognition. For more tips on building a brand without showing your face, you can find more strategies over on the blog: https://monetizedprofiles.com/blog.
Uploading Your Watermark in YouTube Studio
Alright, you've got your perfectly crafted 150x150 pixel watermark file ready to go. Now for the easy part: getting it onto your channel.
This is a true "set it and forget it" task that only takes a couple of minutes in YouTube Studio. Best of all, once you do this, your watermark will automatically show up on every single video on your channel—past, present, and future.
First, log into your YouTube account and head over to YouTube Studio. Look for the "Customization" option in the menu on the left side of your screen.
Once you click that, you'll see three tabs pop up: Layout, Branding, and Basic info. Go ahead and click on the "Branding" tab.
This is where you manage all your channel's visuals. You'll see your profile picture and banner image, and right below them is the "Video watermark" section. This is exactly what we're looking for.
Just click the "UPLOAD" button, find your saved watermark file on your computer, and you're nearly there.
Choosing Your Display Time
After you upload the image, YouTube gives you a few options for when the watermark will actually appear on your videos. This is a small but important decision.
Here are your choices:
- End of video: This pops the watermark up for only the last 15 seconds.
- Custom start time: You can pick a specific time for it to appear, say, after your intro at the 30-second mark.
- Entire video: Your watermark is visible from the moment the video starts until it ends.
Honestly, I recommend choosing "Entire video" for about 99% of creators. Why? Because a watermark that's always on screen is a constant, subtle reminder of your brand. It also gives viewers a chance to subscribe at any point in the video, not just at the very end.
Your watermark can't help you grow your channel if it isn't on the screen. Selecting 'Entire video' maximizes its potential as a branding and subscriber growth tool.
Once you’ve made your choice, just hit that big blue "PUBLISH" button at the top right of the page. And that's it! You're done. YouTube will now get to work adding your new watermark across your entire library of videos.
If you happen to run into an error during the upload, the issue is almost always with the file. Go back and double-check that it meets YouTube's requirements: it must be a square PNG or JPG file and, critically, it must be under 1 MB. Sticking to those rules will get you a clean upload every time.
Advanced Tips for a Smarter Watermark Strategy
https://www.youtube.com/embed/0AHhVgBVtTg
Once you’ve got the basics handled, it's time to think more strategically about your YouTube watermark. There’s more to it than just uploading a PNG in YouTube Studio. Some more advanced moves can give you way more control and really lock down your brand.
One of the most powerful techniques is to "burn" the watermark right into your video file. This just means you add your logo as a permanent overlay in your video editor—whether you use DaVinci Resolve, Premiere Pro, or Final Cut Pro—before you ever hit upload.
The biggest win here is security. When a watermark is burned in, it's part of the video. It can't be stripped out or hidden, unlike the native YouTube watermark which sometimes disappears (like when someone's watching on a phone held vertically). This way, your branding is always there, no matter where your video ends up.
The Trade-Offs of a Burned-In Watermark
While burning in your watermark gives you bulletproof branding, there's a catch. A burned-in watermark isn't clickable. Viewers can't hover over it and see that handy subscribe button, so you lose that immediate call to action that YouTube's built-in feature offers.
So, what do you do? A lot of savvy creators use a hybrid approach.
- They burn a subtle logo into one corner for constant, unremovable branding.
- Then, they still use the YouTube Studio feature to get the clickable subscribe button in the opposite corner.
This tactic delivers the best of both worlds: you get the permanent brand protection and the easy subscription prompt.
Your watermark strategy is more connected to your monetization goals than you might think. The YouTube ad ecosystem once pulled in nearly $9 billion in a single quarter, which shows just how massive viewer engagement is. A solid watermark builds channel recognition, which fuels subscriber growth and ultimately impacts your bottom line. You can learn more about YouTube’s incredible user statistics and engagement on dashsocial.com.
Customizing for Your Channel Type
There’s no one-size-fits-all watermark. What works for a daily vlogger probably won’t work for a channel that teaches code. Your content should always guide your watermark choices.
For instance, if you run a software tutorial channel with a lot of on-screen text, sticking a watermark in the bottom-right corner could easily block important menus or buttons. In that case, it makes much more sense to burn your logo into a less crowded spot, like the top-left corner.
Think about these common scenarios:
- Tutorial Channels: Place your watermark where it will never cover up crucial on-screen information. You might need to test a few spots to see what works best for your layout.
- Faceless Channels: Here, your watermark is your brand's face. A crisp, clear logo placed consistently in every video is absolutely essential for building that brand recall. For those looking to get a jump start, buying a pre-approved monetized YouTube channel can offer a major advantage.
- Filmmaking/Cinematic Channels: You don't want to ruin the vibe. A subtle, semi-transparent watermark that complements the aesthetic is usually the best bet to keep the viewing experience immersive.
Exploring Animated Watermarks
If you really want to level up your production value, consider an animated watermark. This is where you create a short, simple animation of your logo—maybe a quick fade-in or a subtle spin—and burn it into your video intro or have it pop up briefly during the video.
Tools like Adobe After Effects are built for this. The trick is to keep the animation short (2-3 seconds max) and clean. A slick, well-done animated watermark can make your content feel polished and professional, helping you stand out from the crowd.
Your Top YouTube Watermark Questions, Answered
Once you've got your watermark uploaded, you might still have a few nagging questions. I see the same ones pop up all the time, so let's clear the air and get you sorted.
Can I Use a GIF for My YouTube Watermark?
Everyone loves a cool animation, but when it comes to YouTube's built-in watermark feature, the answer is a simple no.
YouTube only plays nice with static image files like PNGs or JPGs. If you’re dreaming of an animated logo that fades in or sparkles, you'll have to add that directly into your video file during the editing process. Tools like Adobe After Effects are perfect for this, but you can’t do it through YouTube Studio.
Why Does My Watermark Look Blurry on Videos?
This is a classic problem, and it almost always boils down to the original file you uploaded. It might seem small on the screen, but quality is everything here.
Even though YouTube shrinks your watermark down to a tiny 150x150 pixel square, you should never start with a file that small. The trick is to design it much larger—say, 800x800 pixels—and then export it as a high-quality PNG. When you scale a large, crisp image down, it stays sharp. Try to scale a small image up, and you get that dreaded pixelated mess.
The secret to a sharp watermark is simple: always start with a high-resolution source file. Downscale a big image, don't upscale a small one.
Does the YouTube Watermark Show Up on Mobile?
Yes, but there's a huge catch you need to know about. The watermark only appears when a mobile viewer turns their phone sideways to watch in full-screen (landscape) mode.
If they're watching your video vertically while scrolling through their feed, your watermark is completely invisible. This is exactly why a simple, bold design is so critical—it needs to make an impact in the short time it’s actually seen on a smaller screen.
Can I Use Different Watermarks on Certain Videos?
Unfortunately, no—at least not with YouTube’s native feature. The branding watermark you set in YouTube Studio is a channel-wide setting. It's an all-or-nothing deal that gets applied across every video you've ever uploaded.
If you want to use a unique graphic for a specific series or a sponsored video, you'll need to go back to your video editor. By adding it as a permanent overlay during editing, you can customize it for each video.
If you're looking for more personalized advice on your channel's branding strategy, you can always reach out for a consultation to talk it through.
At MonetizedProfiles, we help creators skip the grind and start earning from day one. Check out our selection of monetization-approved YouTube and TikTok accounts at https://monetizedprofiles.com.


